Saturday, December 30, 2017
ThinkwareTutorial How To Get The F800PRO F800 Up And Running
ThinkwareTutorial How To Get The F800PRO F800 Up And Running

The lack of screen on a F800 does not mean that a difficult installation process will be needed. In fact, you can get the F800 up and running in just 5 steps . Read down below for a step-by-step installation guide.
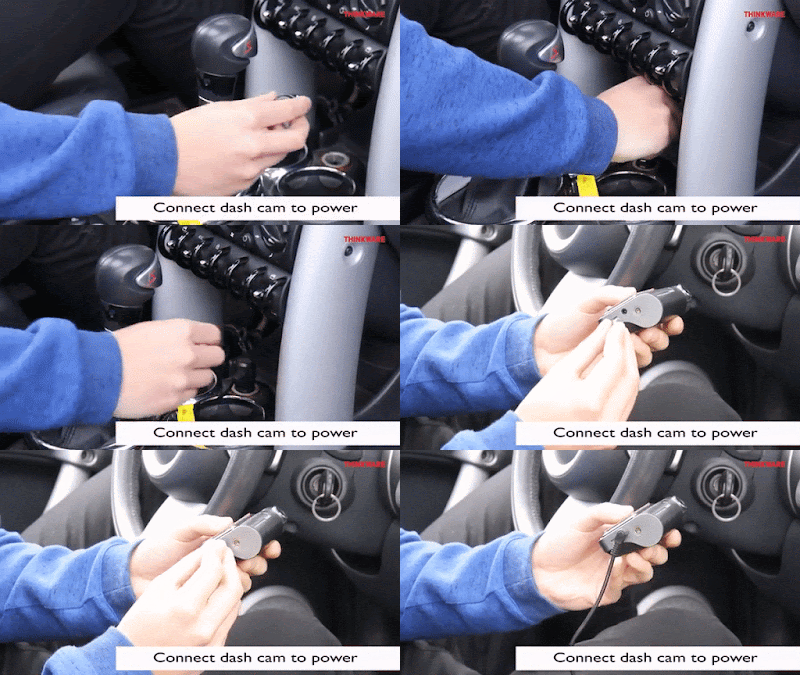
STEP 1: Power on the F800. You can use either the 12V power cable included or hardwire the dash cam.
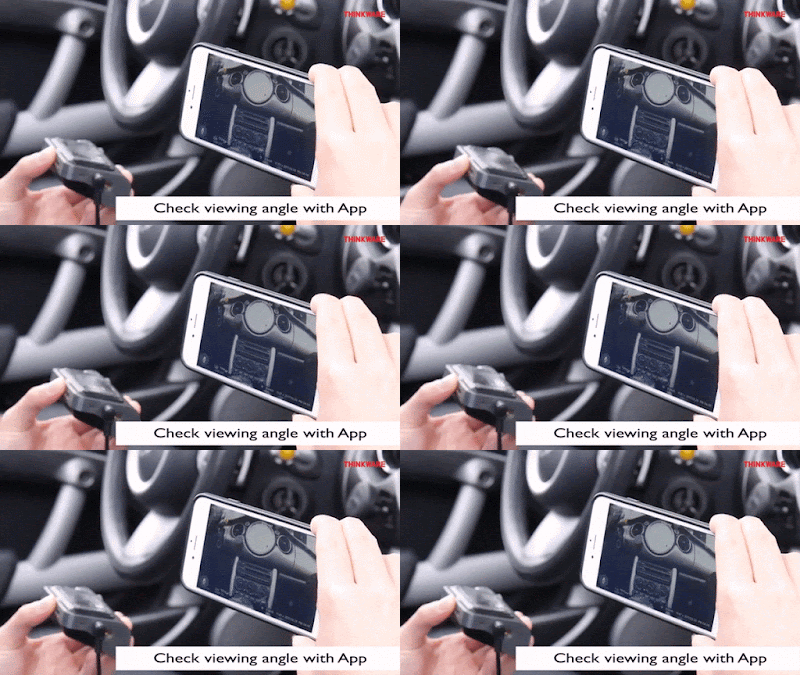
STEP 2: Check the viewing angle in Live View by connecting the F800 to the mobile app.
Havent already connected to the mobile app? You can either use the built-in Wi-Fi or your Personal Hotspot. We have a tutorial for each method here and here.
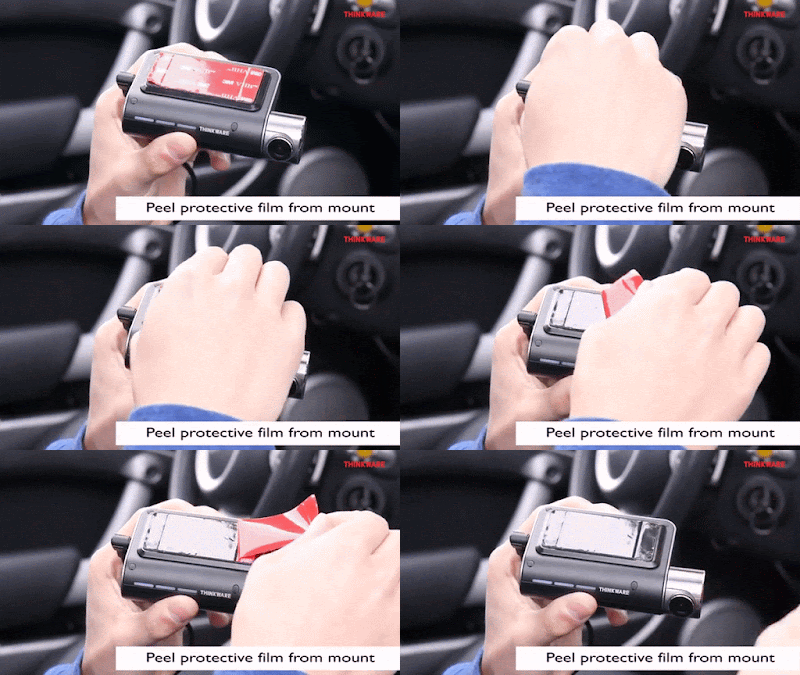
STEP 3: Peel off the protective film from the plastic mount.
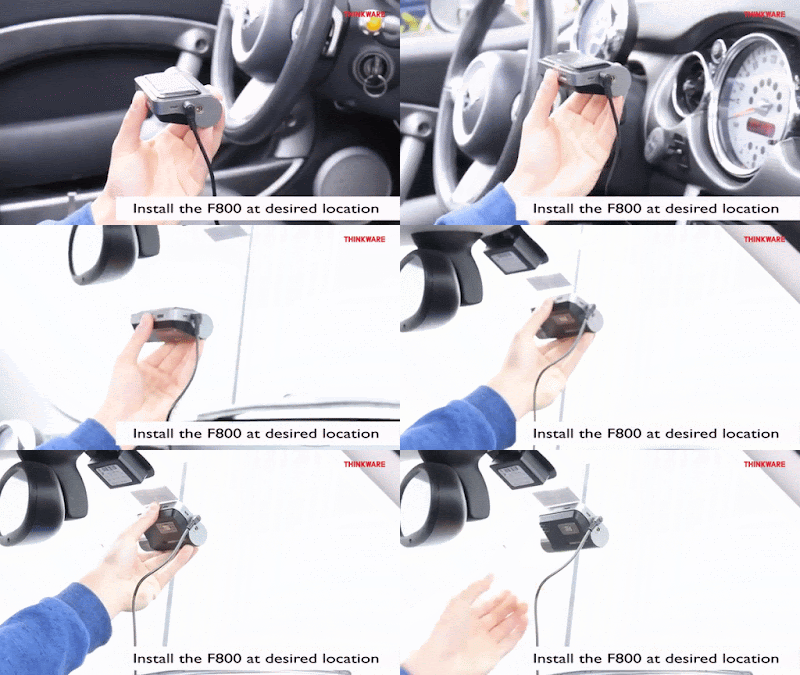
STEP 4: With the adhesive strip facing upwards, install the F800 on the front windshield at desired location behind the rear-view mirror.
[Pro-Tip:] To ensure that the mount is safely secured, allow 24 hours for the adhesive to set on the windshield before re-attaching the dash cam again. Want to readjust the mount? We have a tutorial here.
STEP 5: For clean installation, arrange the cables along the headliner and tuck them in! The adhesive wire clips can be used to secure the cable in place.
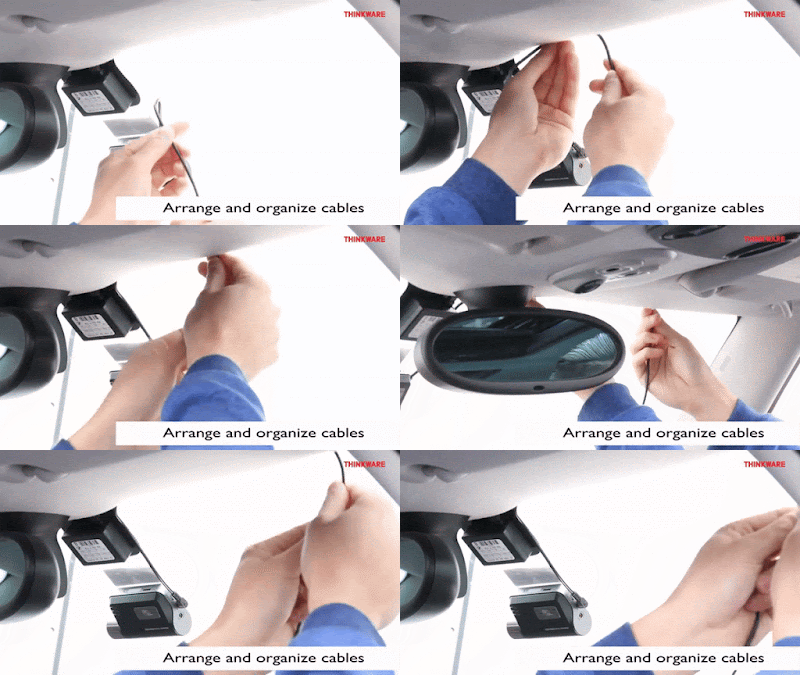

If you would like more a visual reference, check out our Youtube tutorial on installing the F800:
If you have any questions, let us know in the comment section below! Interested in the F800 dash cam? Theyre readily available at Best Buy and Amazon.